How can I change an audit map's settings in Analyst® software?
| 日期: | 03/15/2024 |
| 类别: | Software |
For research use only. Not for use in diagnostic procedures.
Answer
To check a project and see how an audit map is applied or to change the settings for an audit map for a particular project in Analyst® software, navigate to the Audit Trail Manager.
1) Select the Audit Trail Manager option under the View menu and the Audit Trail Manager window will open.
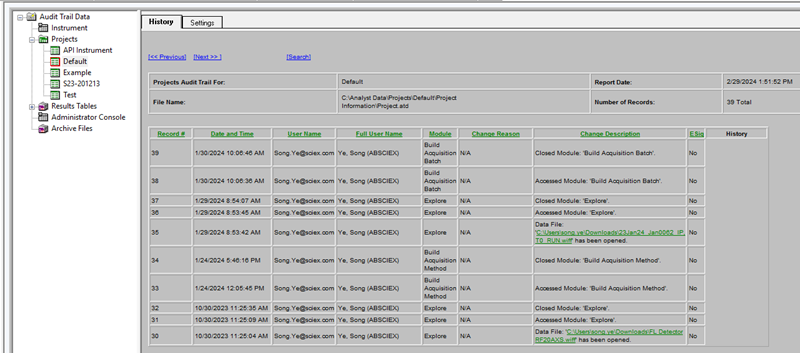
2) In the left pane, expand the Audit Trail Data folder by selecting the plus sign. Then select the plus sign next to Projects to expand the Projects folder. A list of projects in the Analyst Data folder will appear.
1) Select the Audit Trail Manager option under the View menu and the Audit Trail Manager window will open.
2) In the left pane, expand the Audit Trail Data folder by selecting the plus sign. Then select the plus sign next to Projects to expand the Projects folder. A list of projects in the Analyst Data folder will appear.
3) Under the Projects folder, select the project that contains the audit map to be viewed. (In this case, the Default project was selected.)
4) On the Settings tab, click Edit. The Audit Map Editor dialog opens and the active audit map is shown in the Audit Map Description field at the bottom of the Settings window.
5) In the Project Default window, select the audit map to modify and select Edit.
6) In the audit map table, make any changes to the configuration.
7) Select Save to save the updated audit map for future use.
8) If a new audit map needs to be applied to the project, return to the Settings tab, select the audit map of interest, and then select Apply.

Posted: now